IPC-TM-650 Thermal Stress Testing
(Solder Float Test)
Why assemble a bare board without performing thermal reliability testing first? Think about it this way, would you build your dream home on an unstable foundation? No, you probably wouldn’t. The same logic can be applied to coupon testing. Prior to assembly, coupons should be thermal stress tested, then microsectioned and examined to industry standards to ensure plated-through holes can withstand thermodynamic effects.
At ORS, we offer quick-turn thermal stress testing per IPC-TM-650, method 2.6.8. This test is performed for the purpose of determining whether plated-through holes can withstand the thermodynamic effects of the extreme heat to which they may be exposed during the assembly, rework or repair process.
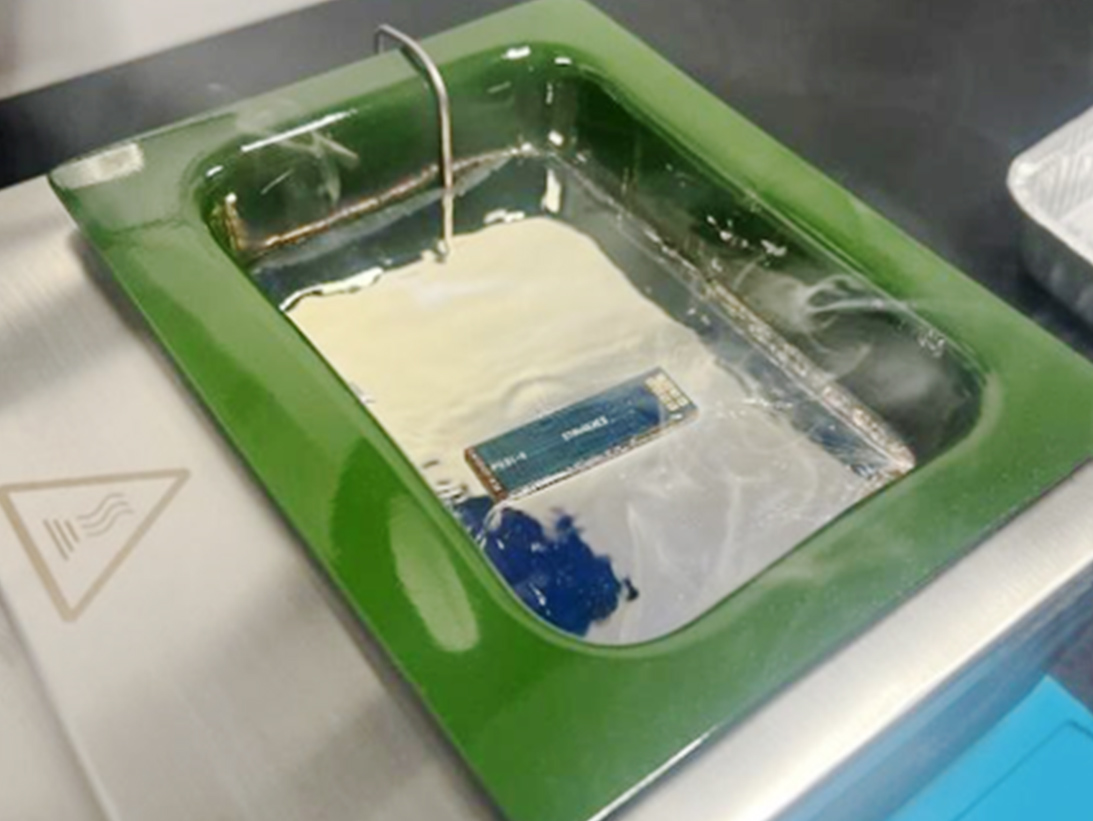
Thermal stress of a coupon via solder float method
Per this test method, coupons are first conditioned by drying in an oven to remove moisture. Then, the coupons are baked for a minimum of six hours at 121°C to 149°C. Next, each coupon is floated on molten solder for 10 seconds +1, -0 seconds. A coupon can undergo multiple float passes so long as it cools to room temperature between floats. Due to the test process, this test is commonly referred to as solder float testing.
The temperature of the solder is determined by the test condition:
- Test Condition A (default) – 288°C ±5°C
- Test Condition B – 260°C ±5°C
- Test Condition C – 232°C ±5°C
After solder float testing, the coupon is cleaned and prepared for microsectioning. The grinding and polishing accuracy of the microsection needs to be done so that the viewing area of each plated-through hole is within 10% of the drilled diameter of the hole. Both the largest component holes and the smallest holes on the board are evaluated.
Optical inspection of the microsectioned sample occurs before and after microetching. The “as-polished” evaluation is performed prior to micro-etching and is performed to assess internal features such as inner layers separations and plating-to-target lands separations. After the “as-polished” evaluation, the sample is micro-etched using a copper etch solution. Care must be taken to not over etch the sample. Over etching the sample can obscure the demarcation line between the copper foil and electroplated copper, causing inaccurate inspection results.
The micro-sectioned samples are evaluated to the appropriate printed board performance specification (i.e., IPC-6012, IPC-6013), which provides magnification and acceptability criteria. The criteria established in the performance specification is subject to classification by intended end-item use. Three general end-product classes have been established to reflect differences in producibility, complexity, functional performance requirements and verification frequency. The three classes are:
- Class 1 General Electronic Products – Includes limited-life products suitable for application where the requirement is a function of the completed product.
- Class 2 Dedicated Service Electronic Products – Includes products where continued performance and extended life is required, and for which uninterrupted services is desired but not critical.
- Class 3 High Performance/Harsh Environment Electronic Products – Includes products where continued high performance or performance-on-demand is critical, product downtime cannot be tolerated, end-use environment may be uncommonly harsh and the product must function when required.
The acceptability criteria defined in the performance specification is determined by classification. It is the responsibility of the client to identify the class to which the product is evaluated.
Contact us for information about thermal stress testing
Detailed optical image of a plated-through hole
Optical image of a microsectioned sample with plated-through holes
IPC-TM-650 Test Methods:
- Method 2.6.8 – Thermal Stress, Plated-Through Holes
- Method 2.1.1 – Micro-sectioning, Manual and Semi or Automatic Method
Mil-Prf-31032 Test Method:
- Appendix F, Resistance to Soldering Heat, Test Condition A, B, and C
Performance Specifications:
- IPC-6012 Qualification and Performance Specification for Rigid Printed Boards
- IPC-6013 Qualification and Performance Specification for Flexible Printed Boards


